
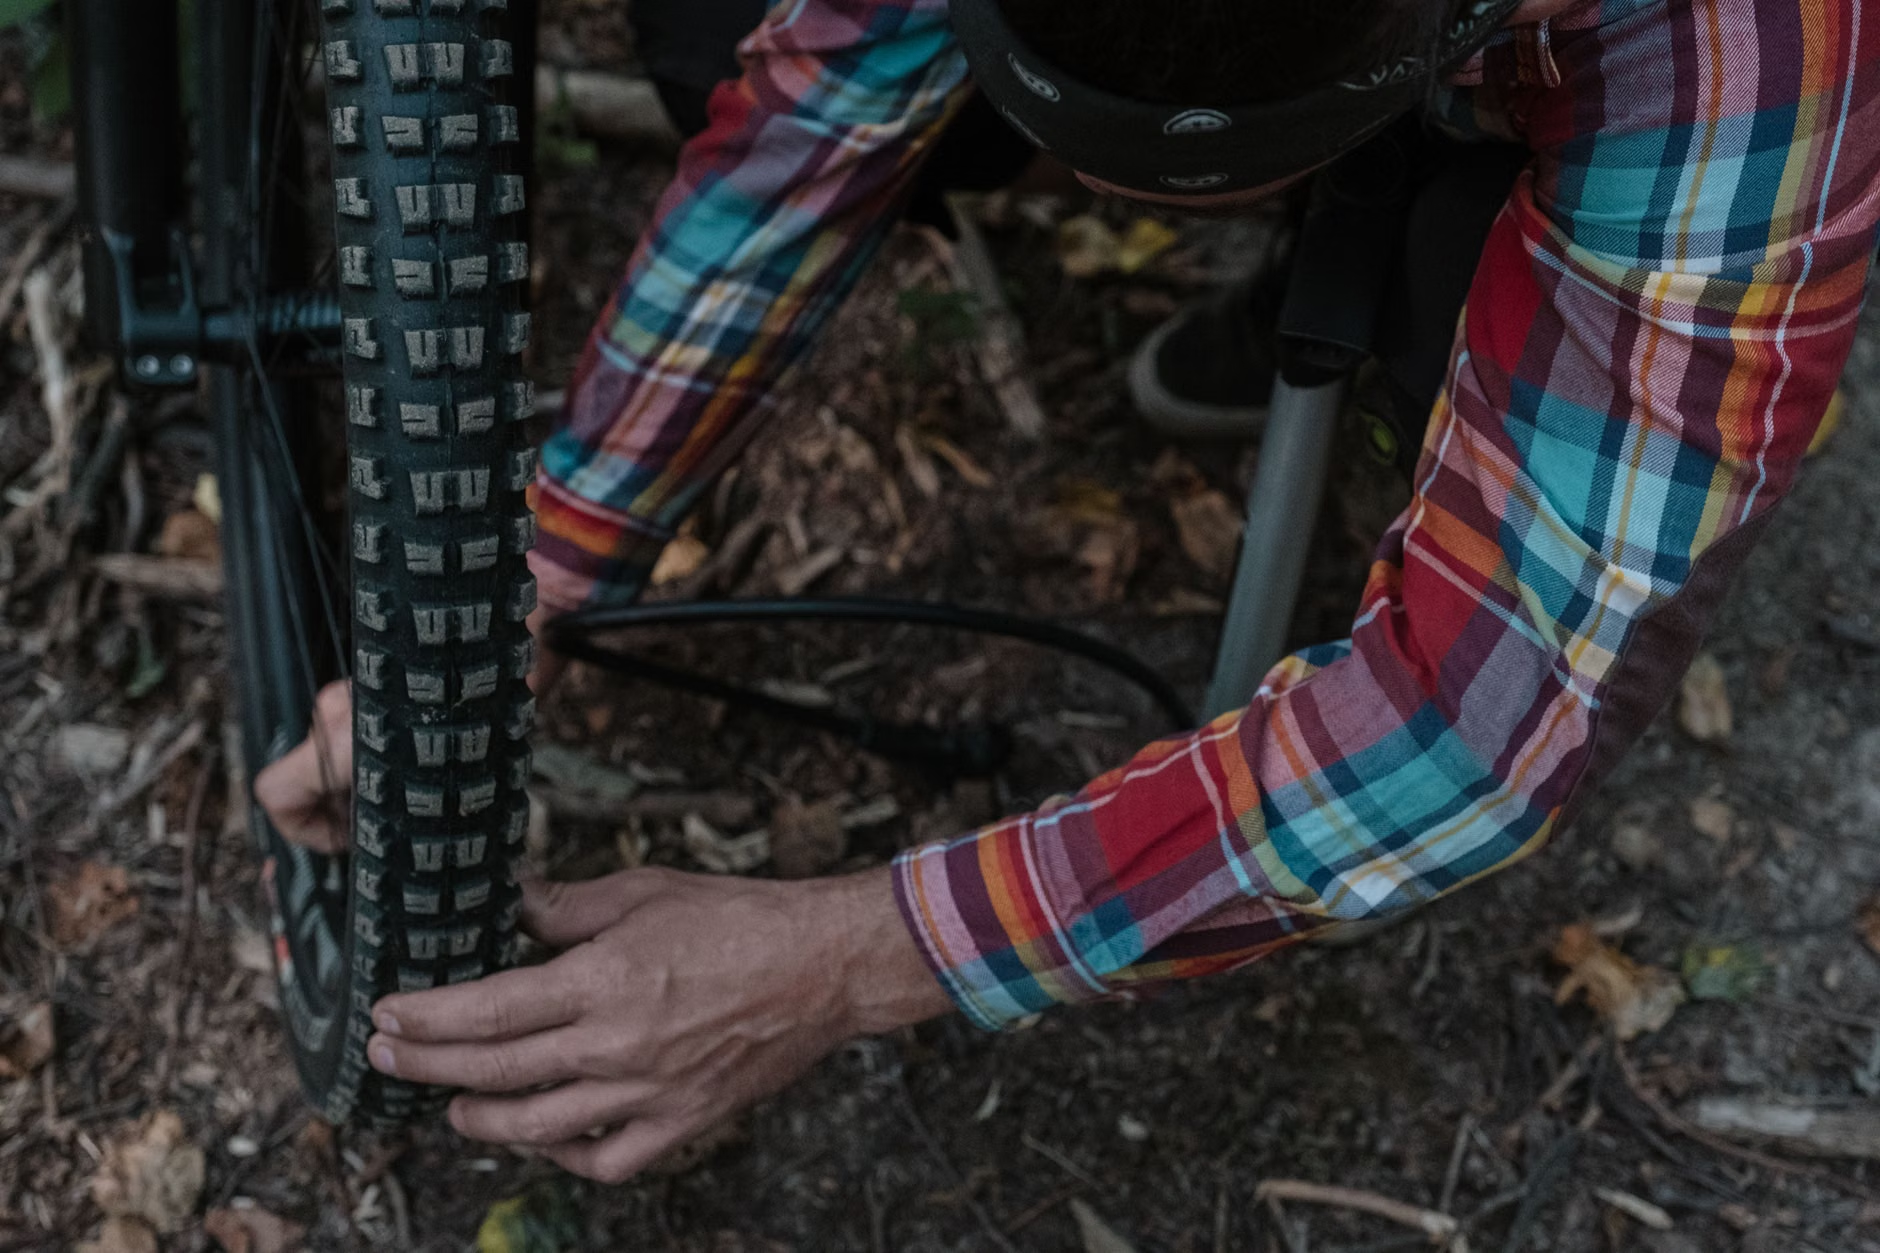
Most flat-tire repairs are not difficult. What makes them frustrating is the second flat 10 minutes later, usually because the sharp object stayed in the tire or the new tube got pinched during installation. A good repair is not just putting air back in the wheel. It is removing the cause, reinstalling the tube cleanly, and checking the tire before riding away. That is true for road, gravel, hybrid, mountain, and many commuter bikes. (rei.com)
TL;DR
- On most tubed bikes, the fastest roadside fix is to replace the damaged tube, then patch the old tube later at home if it is worth saving. (rei.com)
- Before installing anything new, inspect the tire, the rim, and the rim tape so the same thorn, shard, or pinch point does not ruin the next tube. (rei.com)
- Inflate within the pressure range marked on the tire and rim, using the lower limit when a maximum is listed for both. A gauge is more reliable than squeezing the tire by hand. (media.trekbikes.com)
- Tubeless systems may self-seal or need a plug. If they will not hold air, an emergency tube is often the fallback roadside repair. (sram.com)
What to carry before you need it
A flat is much easier when the repair kit matches the bike. For a standard tube setup, the basics are simple: a spare tube in the correct size and valve type, tire levers, a patch kit, and a way to inflate the tire again. If the wheel uses axle nuts or a thru-axle, the correct wrench or multitool matters just as much as the tube. For tubeless, add a plug kit and still carry a tube in case the puncture is too large to seal. (rei.com)
| Carry item | Why it matters | Notes |
|---|---|---|
| Spare inner tube | Usually faster than patching at the roadside. (rei.com) | Match tire size and valve type. |
| Patch kit | Lets you save the old tube or handle a second puncture. (rei.com) | Useful even if a spare tube is your first choice. |
| Two tire levers | Helps unseat and reinstall tight tire beads without damaging the rim. (rei.com) | Avoid screwdrivers or other sharp improvised tools. (media.trekbikes.com) |
| Portable pump or CO2 inflator | You need a way to reseat the tire and restore rideable pressure. (rei.com) | CO2 is fast, but pressure may drop faster afterward in tubeless systems. (sram.com) |
| Multitool or axle tool | Some bikes need a hex key, lever, or wrench to remove the wheel. (media.trekbikes.com) | Especially important for thru-axles and some e-bikes. |
| Tire boot or emergency boot material | Useful for a temporary sidewall repair so the tube does not bulge through a cut. (rei.com) | A real tire boot is better, but emergency material can get you home. |
| Tubeless plug kit | Needed when sealant alone will not close a puncture. (sram.com) | Still carry a spare tube as backup. (sram.com) |
Use the hole-to-hazard check before you install the next tube
Here is the most useful habit in flat repair: match the damage in the tube to the exact spot on the tire and rim. This article calls that the hole-to-hazard check. It is not a formal shop standard, just a practical way to stop repeat flats. If the hole in the tube lines up with the tread, look for glass, wire, or a thorn. If it lines up with the rim side, inspect the rim tape and spoke-hole area. If the tube has two nearby holes after a hard impact, think low pressure and a pinch flat rather than random bad luck. (parktool.com)
- Before fully removing the tube, note where the valve sits relative to the tire logo or another visible point on the tire. That makes it easier to match tube damage to the same section of the tire. (parktool.com)
- Put a little air in the tube and listen, feel, or look for the leak. A bowl or bottle of water at home helps, but on the road even a slow hiss can be enough to locate it. This is a practical diagnostic step rather than a manufacturer rule.
- Compare the leak location with the tire and rim at the same position. Inspect the inside of the casing carefully and remove any embedded debris before installing another tube. (rei.com)
- Check the rim tape and spoke-hole area if you do not find anything in the tire. Trek’s owner’s manual specifically advises examining the tire, rim tape, and rim for defects during reinstallation. (media.trekbikes.com)
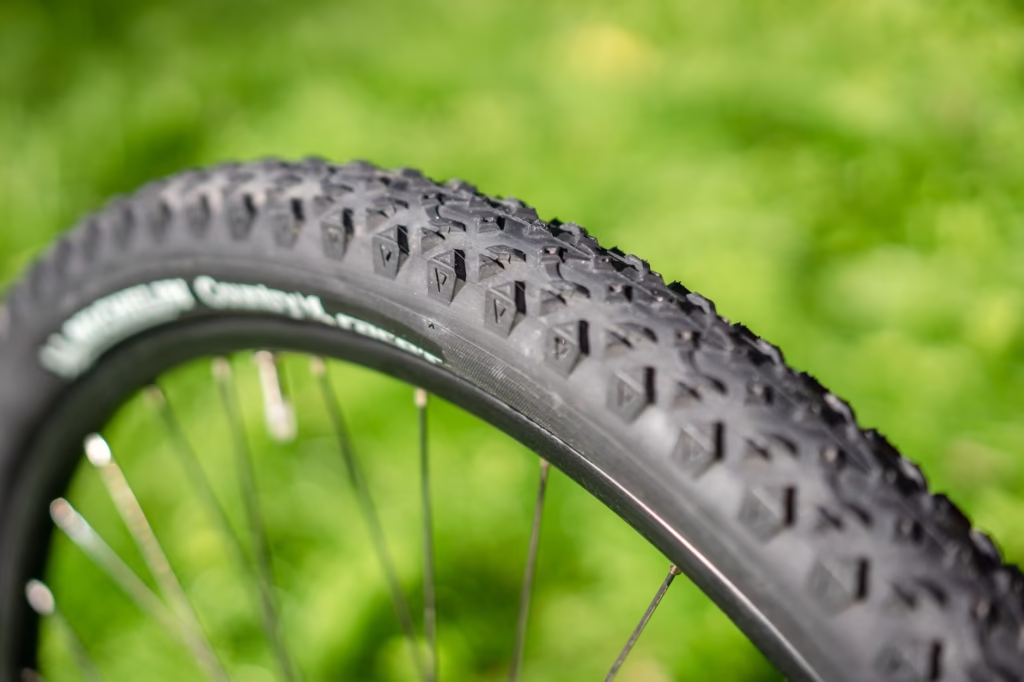
A realistic example: suppose a rider hits a pothole and the tube comes out with two small side-by-side holes. That pattern points to a pinch flat, which happens when an underinflated tire compresses against the rim. In that case, simply swapping tubes without correcting pressure makes another flat much more likely on the next curb or sharp edge. (rei.com)
Step by step: how to fix a flat bike tire
- Move to a safe place and, if it is the rear wheel, shift the chain onto the smallest rear cog before removal. That gives the derailleur more room and makes the wheel easier to reinstall. If you need to lay the bike down, the non-drivetrain side is safer for the derailleur. (rei.com)
- Open the brake if your bike uses a rim-brake release, then remove the wheel using the quick-release, thru-axle, or axle nuts your bike has. With thru-axles, follow the manufacturer’s instructions. With quick-releases, make sure you understand how the lever should close securely before reassembly. (media.trekbikes.com)
- Deflate the tire completely if it still has air. Unseat one tire bead from the rim, starting opposite the valve. Tire levers help, but do not use a screwdriver or other sharp object. (rei.com)
- Pull the tube out. If you are replacing it, keep the old one nearby until you identify the cause of the flat. If you are planning to patch it, find the leak now and inspect the area around it. (rei.com)
- Run the hole-to-hazard check. Inspect the inside of the tire for glass, wire, thorn tips, or a tiny metal shard. Then inspect the rim tape and the rim bed. Do not skip this step. It is the difference between a proper repair and repeating the same puncture. (rei.com)
- If the old tube is patchable, repair it according to the patch kit directions. If the damage is large, a previous patch has failed, or the valve is damaged, install a new tube instead. (rei.com)
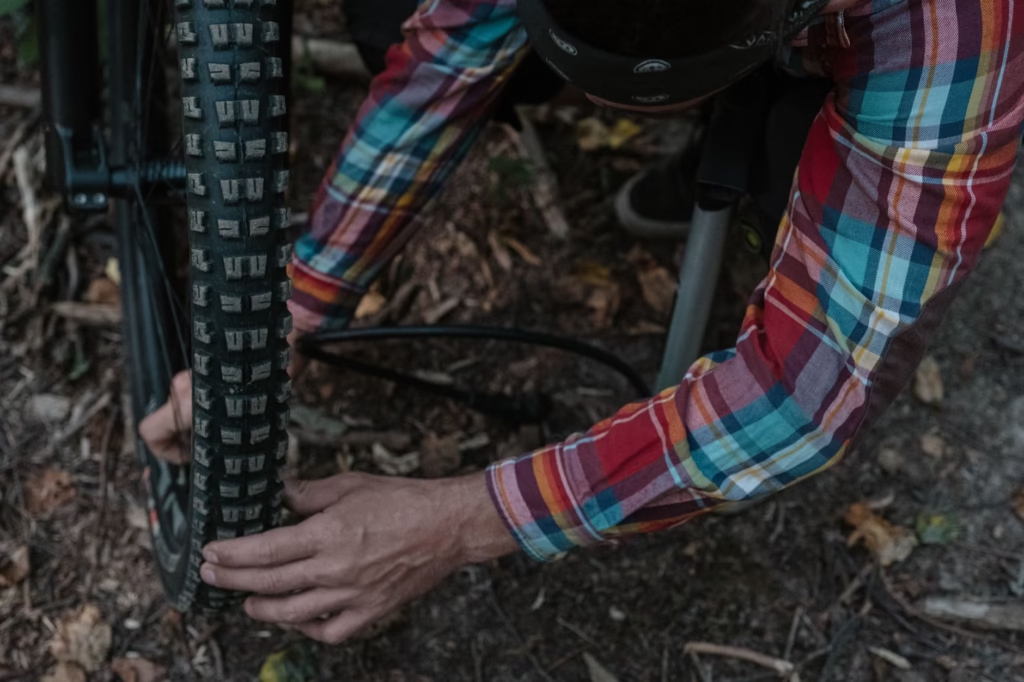
- Put a little air into the new or repaired tube so it holds its shape. Insert the valve straight through the rim hole, tuck the tube into the tire, and reinstall the bead. Start opposite the valve and use your hands as much as possible. Pinch the tire toward the center channel of the rim to create slack. (rei.com)
- Before full inflation, check all the way around both sides of the wheel to make sure the tube is not trapped under the bead. Inflate slowly and confirm that the tire bead seats evenly and the valve stays straight. (rei.com)
- Inflate to the pressure printed on the tire, staying within the permitted range and never above the lower maximum marked on the tire or rim. Reinstall the wheel, secure the axle correctly, spin the wheel, and test the brake before riding away. (media.trekbikes.com)
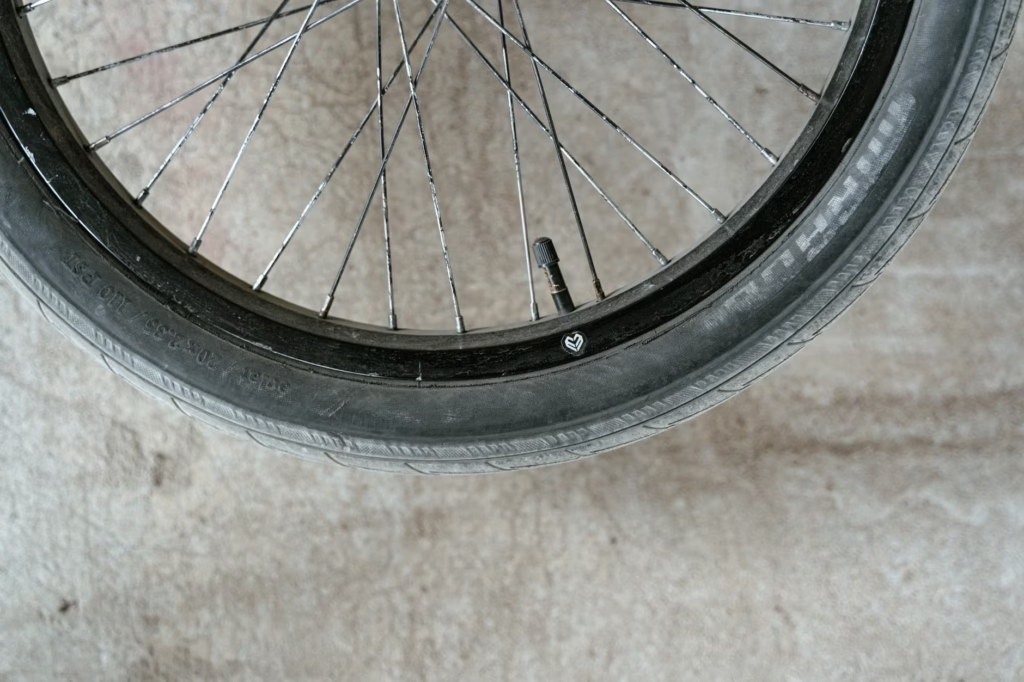
If the bike has hydraulic disc brakes, do not squeeze the brake lever while the wheel is out. The pads can close, creating an extra problem before the tire repair is even finished. Also treat wheel retention seriously: an incorrectly closed quick-release or improperly secured axle is a safety issue, not a small adjustment. (parktool.com)
Read the clues before you ride away
The puncture pattern often tells you more than the tire itself. Reading those clues helps you decide whether the real fix is removing debris, patching the tube, adding pressure, or replacing a damaged tire. (parktool.com)
| What you find | Likely meaning | Best next move |
|---|---|---|
| One small puncture in the tube that lines up with the tread | A sharp object probably pierced the casing. (rei.com) | Inspect the inside and outside of the tire carefully and remove the object before installing the next tube. (rei.com) |
| Two small holes close together | Classic pinch-flat pattern from a hard impact with too little air in the tire. (rei.com) | Replace or patch the tube, then correct tire pressure before riding. (media.trekbikes.com) |
| Tube damage is too large to patch, or the valve is damaged | The tube is not a good candidate for a roadside patch. (rei.com) | Install a new tube and patch the old one later only if it is actually salvageable. (rei.com) |
| Tear or cut in the tire sidewall | The casing is damaged. A boot is only a temporary measure. (rei.com) | Use a tire boot only to get home, then replace the damaged tire. (rei.com) |
| Tubeless tire loses air quickly with no obvious puncture | The issue may be valve sealing, dried sealant, or damaged rim tape rather than the tire itself. (sram.com) | Check sealant, valve, and rim tape before assuming the tire is ruined. (sram.com) |
Patch, replace, or boot? The right fix depends on the damage
Roadside repairs are usually about speed and reliability, not elegance. That is why many riders replace the tube on the spot and patch the punctured one later in better conditions. Patching works well for a clean, small puncture when the tube is dry and the repair holds. Replacement is the better choice when damage is extensive, the patch area is compromised, or the valve itself is the problem. (rei.com)
- Patch the tube when the puncture is small, you can prep the surface properly, and the patch kit is in good condition. (rei.com)
- Replace the tube when the damage is large, the valve is damaged, or an earlier patch will not hold. (rei.com)
- Use a tire boot only as a temporary fix for a sidewall cut or casing damage that would let the tube bulge through. (rei.com)
- Replace the tire after a significant sidewall tear or damaged bead. A boot is for getting home, not for normal long-term use. This replacement advice is a practical safety recommendation based on the temporary nature of tire-boot repairs. (rei.com)
Tubeless changes the roadside order
If the bike is tubeless, the sequence changes. Small punctures may seal with sealant alone. Larger ones may need a tire plug. If the hole still will not close, the practical fallback is often to install a tube so the ride can continue. SRAM’s tubeless troubleshooting guide also notes that some pressure loss is normal over time, while major overnight loss points to a leak somewhere in the system, such as sealant, valve, or rim tape. (sram.com)
- First, see whether the puncture will seal while the wheel is rotated so sealant can reach the hole. This is a practical field step based on how tubeless sealant works. (sram.com)
- If it keeps leaking, use a tubeless plug rather than treating the tire like a standard removable inner tube. Park Tool notes that tubeless tire bodies are handled differently from stick-on inner-tube patch repairs. (parktool.com)
- If the plug fails or the cut is too large, remove the tire and install a tube as an emergency measure if the casing is still usable. (sram.com)
- If you inflated the tire with CO2, do not assume the pressure will hold like normal shop air. SRAM notes that CO2-inflated tubeless systems can lose pressure faster and should be reinflated with ambient air later. (sram.com)
Common mistakes that cause a second flat
- Swapping the tube without finding the original cause of the puncture. This is the most common repair failure pattern. (rei.com)
- Using a screwdriver or another sharp metal tool to pry off the tire bead. Trek explicitly warns against sharp objects for tire removal. (media.trekbikes.com)
- Pinching the tube under the bead during installation, especially with a tire lever at the final tight section. (rei.com)
- Inflating by feel alone. Schwalbe notes that the thumb test is imprecise, especially as pressures rise, so a gauge is the better habit. (schwalbetires.com)
- Riding with too little pressure after the repair. Low pressure increases pinch-flat risk, and Trek warns against riding below the minimum pressure marked on the tire. (rei.com)
- Forgetting to verify that the tire bead is seated evenly before full inflation. (rei.com)
- Squeezing a hydraulic disc brake lever with the wheel removed. (parktool.com)
- Reinstalling the wheel without confirming that the quick-release, axle nuts, or thru-axle are fully secured. (media.trekbikes.com)
When a bike shop is the smarter choice
A flat tire is usually a reasonable do-it-yourself job, but not every bike makes it equally simple. Hub-drive e-bikes can add wiring and more complicated wheel removal. Some thru-axle systems require model-specific instructions and torque details. And if the problem turns out to be a damaged rim, failed rim tape, repeated unexplained punctures, or a tire bead that will not seat properly, outside help is often the faster and safer decision. (parktool.com)
- Rear hub-motor e-bike flat, especially if you are unsure how to handle motor wiring or hardware. (parktool.com)
- Thru-axle bike and you do not know the correct removal or installation method. Trek advises following the axle manufacturer’s instructions. (media.trekbikes.com)
- Visible rim damage, torn rim tape, or repeated flats from the rim side of the wheel. (media.trekbikes.com)
- Sidewall cut or tire bead damage that suggests the casing itself should be replaced rather than simply retubed. (rei.com)
- Any situation where the wheel does not seem to sit squarely in the dropouts or the brake does not work normally after reinstallation. (media.trekbikes.com)
The skill is simple once it becomes routine: remove the wheel, inspect carefully, replace or patch the tube cleanly, inflate to the right pressure, and check that the wheel is secure before you roll away. The part worth practicing is not speed. It is accuracy. One calm repair at home is often enough to turn a future roadside flat from a ride-ending problem into a 10-minute interruption.
FAQ
Is it better to patch a tube or replace it on the road?
On the road, replacement is usually faster and more reliable. REI’s guidance notes that many riders install a new tube first and deal with patching later. Replace instead of patching when the damage is too severe, a patch has already failed, or the valve is damaged. (rei.com)
How much air should I put in after fixing the flat?
Use the pressure range printed on the tire and do not exceed the lower maximum marked on the tire or rim. Trek’s owner’s manual and Schwalbe both emphasize pressure limits, and Schwalbe notes that a gauge is more accurate than squeezing the tire by hand. (media.trekbikes.com)
Can I use a regular patch kit on a tubeless flat?
Not in the same way you would repair a standard inner tube. For a tubeless puncture, the usual roadside order is sealant, then a plug, then an emergency tube if needed. Park Tool also distinguishes tubeless tire-body repair from ordinary stick-on inner-tube patching. (sram.com)
Why did my new tube go flat right away?
The usual reasons are a missed sharp object still inside the tire, a tube pinched under the bead during installation, or pressure that was too low for the conditions. The inspection step is what prevents most immediate repeat flats. (rei.com)
Do I need a bike shop for an e-bike flat tire?
Not always, but rear hub-motor e-bikes can be more complicated because wheel removal may involve extra hardware or cable management. If you are not confident about the axle system, motor wiring, or reinstalling the wheel securely, a shop is a sensible choice. (parktool.com)
References
- REI Expert Advice: How to Fix a Flat Bike Tire – https://www.rei.com/learn/expert-advice/flat-tire.html
- REI Expert Advice: How to Prevent a Flat Bike Tire – https://www.rei.com/learn/expert-advice/flat-tire-prevention.html
- Trek Bicycle Owner’s Manual, Rev. 6, April 2026 – https://media.trekbikes.com/image/upload/v1777060271/TrekBicycleOwnersManual_EN-US_Rev6_Apr2026.pdf
- Schwalbe Tires North America: Inflation Pressure FAQ – https://www.schwalbetires.com/technology-faq/inflation-pressure/
- SRAM Service: Zipp Tubeless Troubleshooting – https://www.sram.com/en/service/articles/zipp—tubeless-troubleshooting
- Park Tool: Tire and Tube Removal and Installation – https://www.parktool.com/en-us/blog/repair-help/tire-and-tube-removal-and-installation
- Park Tool: How to Patch a Tire and Tube – https://www.parktool.com/en-us/blog/repair-help/inner-tube-repair
- Park Tool: Wheel Removal and Installation – https://www.parktool.com/en-int/blog/repair-help/wheel-removal-and-installation
- Park Tool: What Tools Do I Need for My E-Bike? – https://www.parktool.com/en-us/blog/repair-help/what-tools-do-i-need-for-my-e-bike
