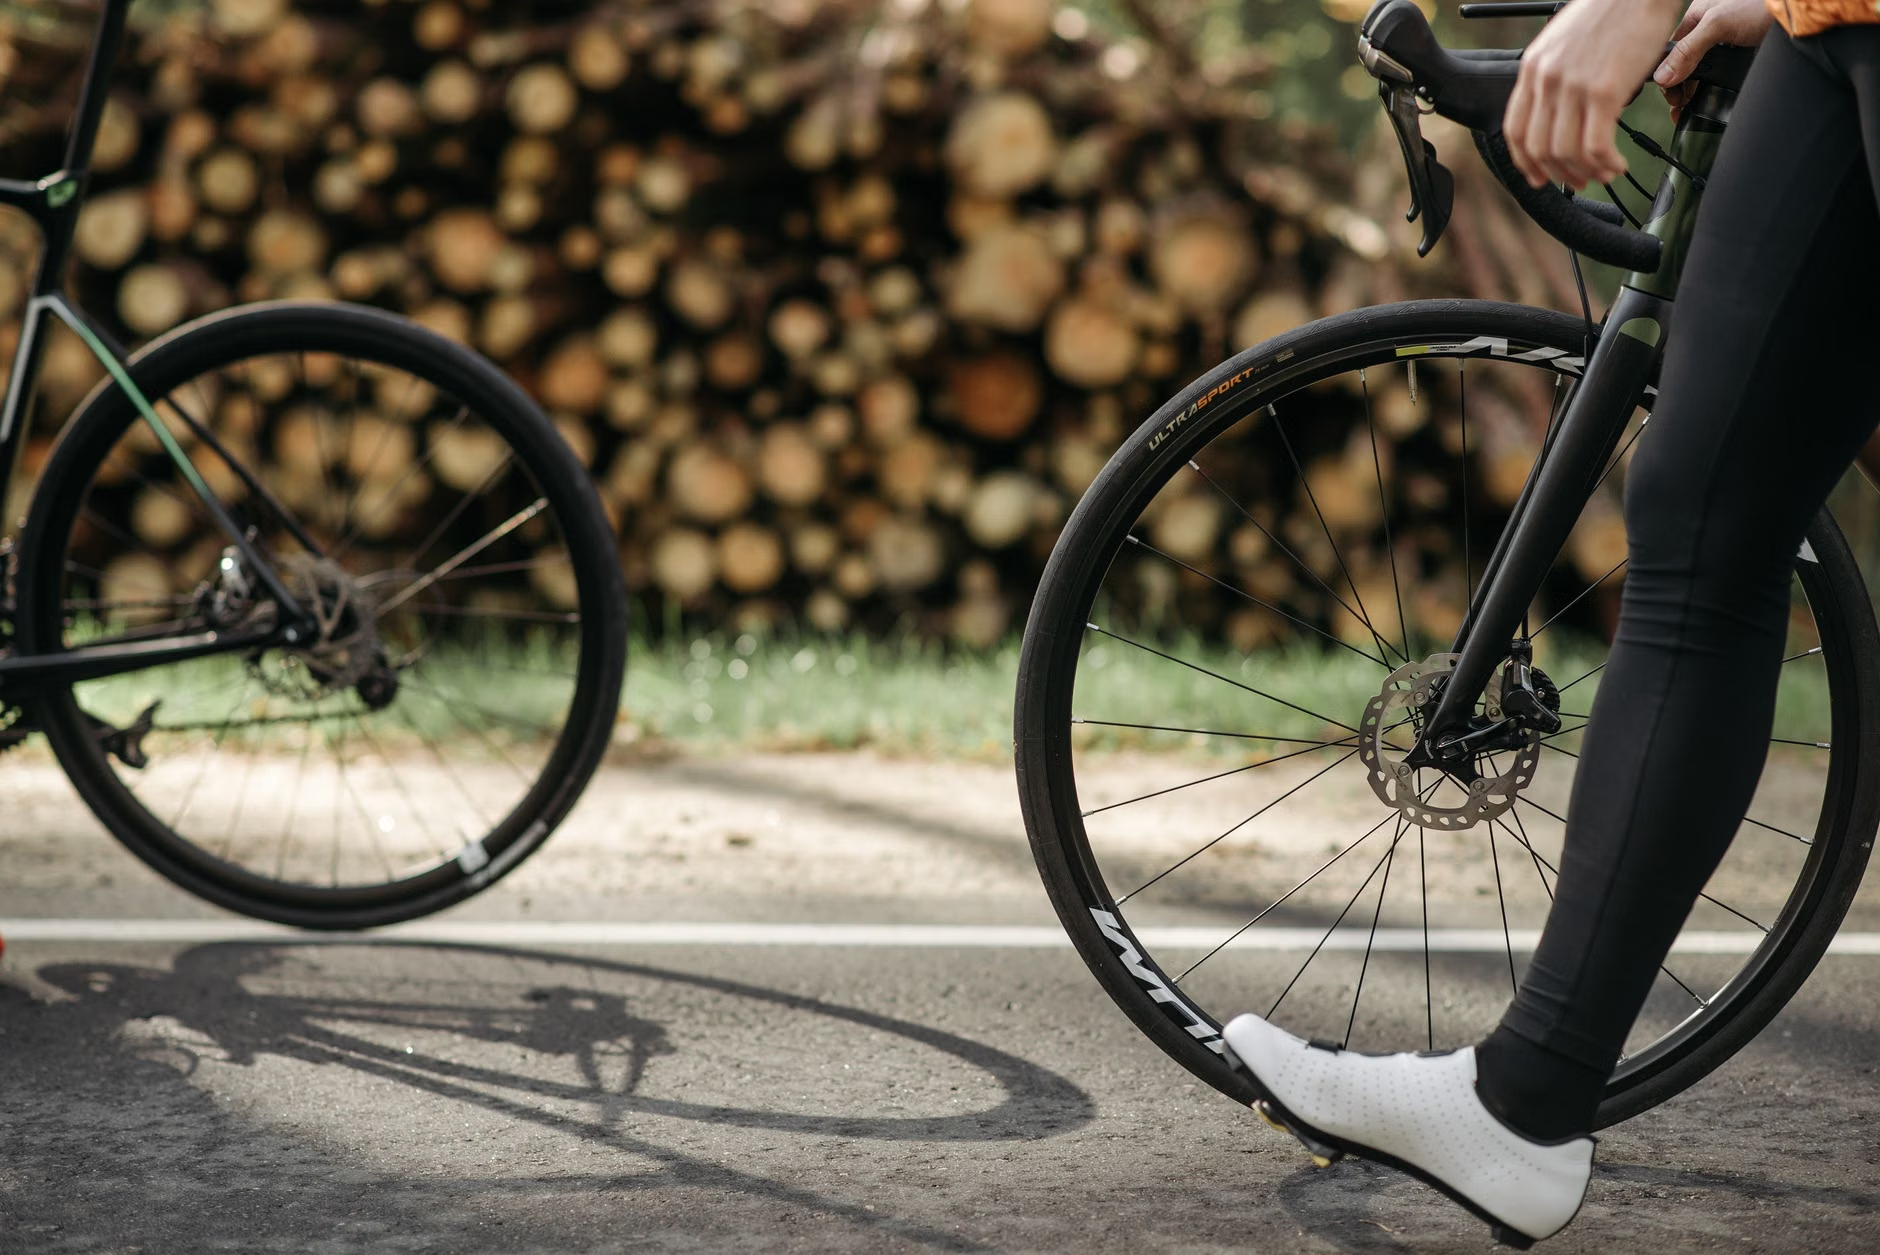
Most pre-ride bike problems are not dramatic breakdowns. They are the ordinary issues riders miss when they are rushing out the door: a soft tire, a weak brake, a loose wheel, a dry or rusty chain, or a helmet that is technically on the head but not fitted correctly. NHTSA’s guidance is simple for a reason: check the bike, wear a properly fitted helmet, and do a brief test before you commit to the ride. (nhtsa.gov)
Use a repeatable check that takes about a minute
The best checklist is not the most detailed one. It is the one that actually happens before every ride, including short errands and familiar routes. A practical version starts with the same priorities NHTSA uses in its pre-ride safety check: air, brakes, chain, and a brief functional test. (nhtsa.gov)
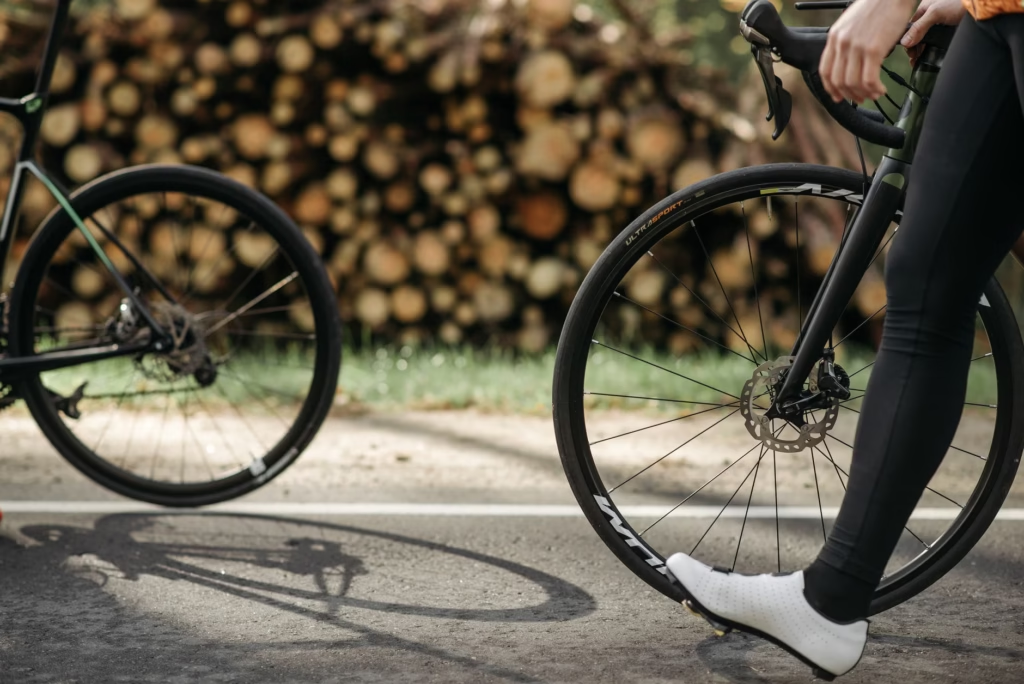
- Air: Check both tires before anything else. If one feels soft, confirm the recommended pressure range on the tire sidewall, then inspect for cuts, nicks, or badly worn tread. Low pressure can change handling, make the bike feel sluggish, and increase flat risk. (nhtsa.gov)
- Brakes: Squeeze both levers before you move. They should feel firm and capable of stopping the bike. Look for worn pads, damaged or loose cables, and brake rub while the wheel spins. (nhtsa.gov)
- Chain: Turn the pedals and watch how the chain moves. It should run freely and be clean, lubricated, and free of heavy rust. If the drivetrain is dragging before the ride starts, it is unlikely to improve once you are out in traffic or on a descent. (nhtsa.gov)
- Wheel security: Check that quick-release levers or other wheel-retention hardware are secure. This is easy to skip and not worth skipping. NHTSA specifically includes wheel retention in its pre-ride guidance because control and braking depend on the wheel staying in place. (nhtsa.gov)
- Short roll test: Coast a few yards in a safe spot and apply both brakes lightly. A brief test ride can reveal rubbing, binding, steering issues, or a problem you did not notice while standing still. (nhtsa.gov)
If one item fails, the checklist has already done its job. Fix the issue before riding instead of bargaining with it because the trip is short. A small mechanical problem at the curb is much easier to deal with than the same problem halfway through an intersection or on a fast downhill. (nhtsa.gov)
Check the rider setup, not just the bike
A safe bike is only half the pre-ride equation. Helmet fit, visibility, and loose clothing all affect what happens once the wheels start moving. NHTSA’s helmet-fitting guide uses an easy rule to remember: the helmet should sit level and low, about two fingers above the eyebrows; the side straps should form a V around each ear; and the chin strap should be snug enough for about two fingers underneath. If you are buying or replacing a helmet, CPSC says to look for a label stating that it meets the federal bicycle helmet standard. (nhtsa.gov)
- Secure anything that can reach the drivetrain. NHTSA specifically warns riders to tuck shoelaces and pant legs so they do not get caught in the chain. (nhtsa.gov)
- Match visibility to the conditions, not just the hour. Bright clothing helps in daytime; for night riding or poor visibility, NHTSA recommends a white front light, a red rear light, and reflectors. (nhtsa.gov)
- Lock down what you are carrying. A jacket, mini pump, or lock that swings into a wheel is not just annoying. NHTSA advises carrying items in a backpack or strapping them securely to the bike. (nhtsa.gov)
- Plan the route before you roll away. NHTSA recommends choosing lower-traffic, lower-speed routes when possible, which matters even more if the ride is unfamiliar, busy, or likely to end after dark. (nhtsa.gov)
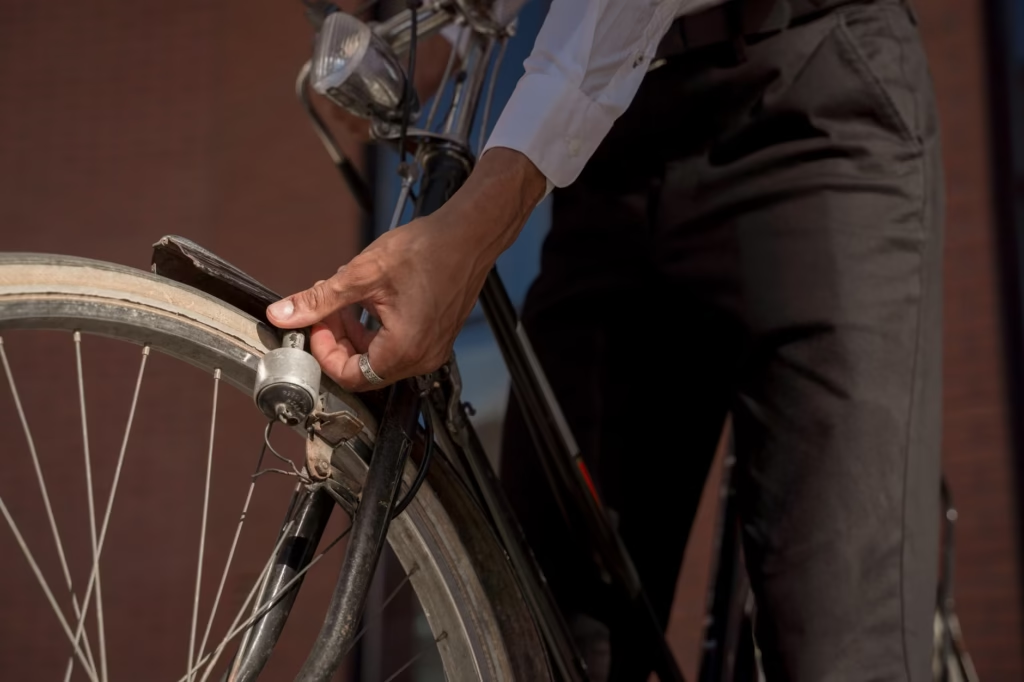
One useful distinction: a pre-ride safety check is different from comfort prep. Water, sunscreen, gloves, and snacks may matter for the ride, but they do not belong in the same mental category as brakes, tire condition, helmet fit, and visibility. Put the true safety items first so they do not get lost inside a longer routine.
Know which problems should cancel the ride
Not every creak means disaster, but some problems are non-negotiable. Do not ride until the issue is fixed if a tire has a visible cut or will not hold air, the brakes do not stop the bike cleanly, a brake cable looks loose or damaged, the wheel-retention hardware is not secure, or the chain is badly rusted or not moving freely. The same goes for the helmet: CPSC requires warnings that impact damage may not be visible and that a helmet that has taken an impact should be replaced rather than trusted. (nhtsa.gov)
A pre-ride checklist is not a substitute for regular maintenance or a shop inspection. It is a fast screening tool. If the basics of stopping, steering, wheel security, or head protection are in doubt, the safer call is to fix the bike first. (nhtsa.gov)
The ultimate checklist is the one that becomes automatic: quick bike check, quick helmet check, quick roll test, then go. Keep it short, keep it strict, and it will catch more real safety problems than a longer routine that only happens once in a while.
References
- National Highway Traffic Safety Administration: Bicycle Safety – https://www.nhtsa.gov/road-safety/bicycle-safety
- National Highway Traffic Safety Administration: Pre-Ride Safety Check – https://www.nhtsa.gov/sites/nhtsa.gov/files/2024-07/bike-safety-pre-ride-bicycle-check.pdf
- National Highway Traffic Safety Administration: Fitting a Bicycle Helmet – https://www.nhtsa.gov/document/bike-safety-fitting-bicycle-helmet
- U.S. Consumer Product Safety Commission: Bicycle Helmets Business Guidance – https://www.cpsc.gov/Business–Manufacturing/Business-Education/Business-Guidance/Bicycle-Helmets
