
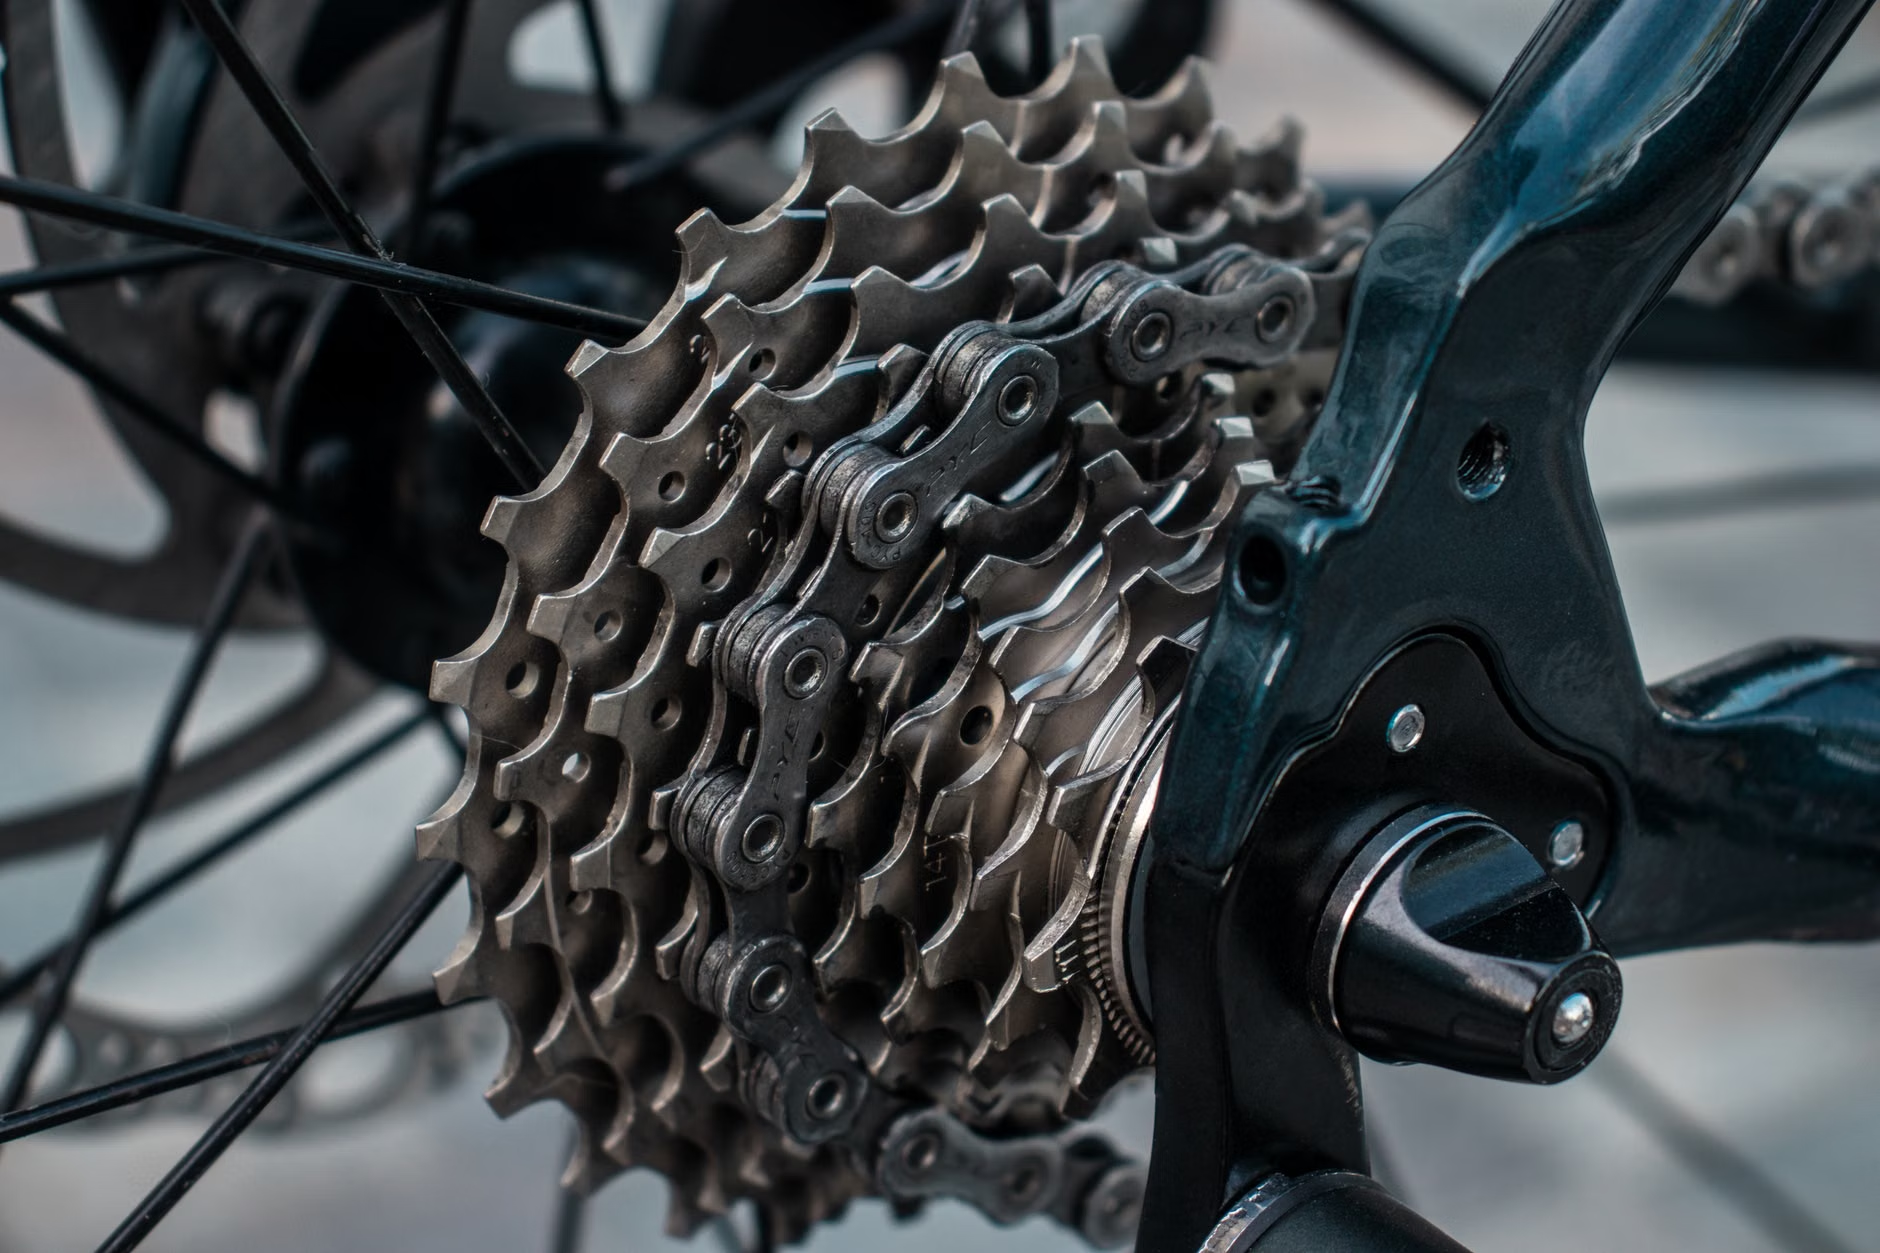
When bike gears start slipping, riders often assume the derailleur needs a quick twist of a screw. Sometimes that works. Just as often, it hides the real problem for another ride or two, and then the skipping comes back. Most slipping comes from one of five places: cable tension that has drifted out of adjustment, friction in the cable and housing, a worn chain and cassette, a bent derailleur hanger, or a setup issue after removing the rear wheel or changing parts. The trick is not to adjust everything at once. It is to identify the pattern first, then make the smallest fix that actually matches the symptom.
- If the chain hesitates moving between cogs, indexing or cable friction is usually the first place to look.
- If it slips only under hard pedaling, especially in one or two favorite gears, wear is a more likely cause than adjustment.
- If the problem started after a tip-over, transport, or wheel removal, check wheel seating, axle tightness, and derailleur hanger alignment before turning screws.
- On most mechanical rear derailleurs, counterclockwise barrel-adjuster turns add cable tension and help the chain climb to larger rear cogs; clockwise reduces tension and helps it drop to smaller cogs.
- If the chain tries to jump into the spokes or off the smallest cog, stop riding until the limit or alignment problem is corrected.
Start with the symptom, not the screwdriver
Riders use the word slipping for several different problems. One bike will refuse to move cleanly from one rear cog to the next. Another will shift fine in the stand but skip forward when the rider stands on the pedals. Another will chatter in certain gear combinations even though nothing is truly skipping. Those are not the same fault, and they do not respond to the same fix.
A useful first distinction is this: hesitation during the shift usually points to adjustment or cable drag, while a sudden lurch after the shift is complete often points to wear, damage, or misalignment. Also note whether the problem is at the rear cassette or at the front chainrings. This article is mainly about derailleur bikes and rear-gear slipping, because that is where most complaints begin. If the trouble is only between front chainrings, the front derailleur is a separate adjustment job.
Use the Three-Clue Slip Check before touching the derailleur
- Where does it happen? If it is only one or two cogs, think wear or a damaged cog. If it is all across the cassette, think indexing, cable friction, or hanger alignment.
- When does it happen? If it happens during the shift, suspect cable tension or drag. If it happens only when pedaling hard after the shift, suspect chain, cassette, chainring, or chain-link wear.
- What changed right before it started? A crash, leaning the bike on the drive side, wheel removal, a new chain, or a recent cassette swap can narrow the diagnosis fast.
| What you notice | Most likely cause | Best first move | DIY or shop? |
|---|---|---|---|
| One click does not equal one gear, or shifts feel slow both directions | Indexing drift or cable friction | Check cable and housing, then fine-tune with the barrel adjuster | Usually DIY |
| Shifts on the stand, but skips under pressure in the same one or two gears | Worn chain, cassette, or chainring teeth | Measure chain wear and inspect the most-used cogs | DIY diagnosis; parts replacement may vary |
| Middle gears can be tuned, but the outer gears never feel right | Bent derailleur hanger or incorrect chain gap | Inspect alignment from behind and check for recent impact | Often a shop job |
| Problem started right after rear wheel removal or transport | Wheel not fully seated or axle not tight | Reseat wheel and secure the thru-axle or quick release | Easy DIY |
| A regular hop or clunk happens once every chain revolution | Stiff or damaged chain link | Backpedal slowly and watch the chain pass through the derailleur | Usually DIY |
| Chain wants to go into the spokes or off the smallest cog | Limit setting or alignment problem | Stop riding and correct it before further use | DIY only if confident |
That table is more useful than it may look. Many home mechanics lose time by treating every poor shift as an indexing problem. If the root cause is wear or a bent hanger, no amount of barrel-adjuster tweaking will make the bike consistently reliable.
Do the no-cost checks first
- Make sure the rear wheel is fully seated in the dropouts and the thru-axle or quick release is properly tightened. A slightly mis-seated wheel can throw off derailleur alignment enough to mimic a bad tune.
- Spin the pedals and look for obvious contamination. A filthy cassette, clogged pulley wheels, or a dry chain can make shifting vague and noisy.
- Backpedal slowly and watch the chain as it passes through the rear derailleur. If one link snaps straight instead of bending smoothly, a stiff link may be causing the skip.
- Stand behind the bike and sight the rear derailleur relative to the cassette. If the upper pulley does not look parallel to the cogs, hanger alignment becomes a prime suspect.
- Only after those checks should you start adjusting cable tension or other settings.
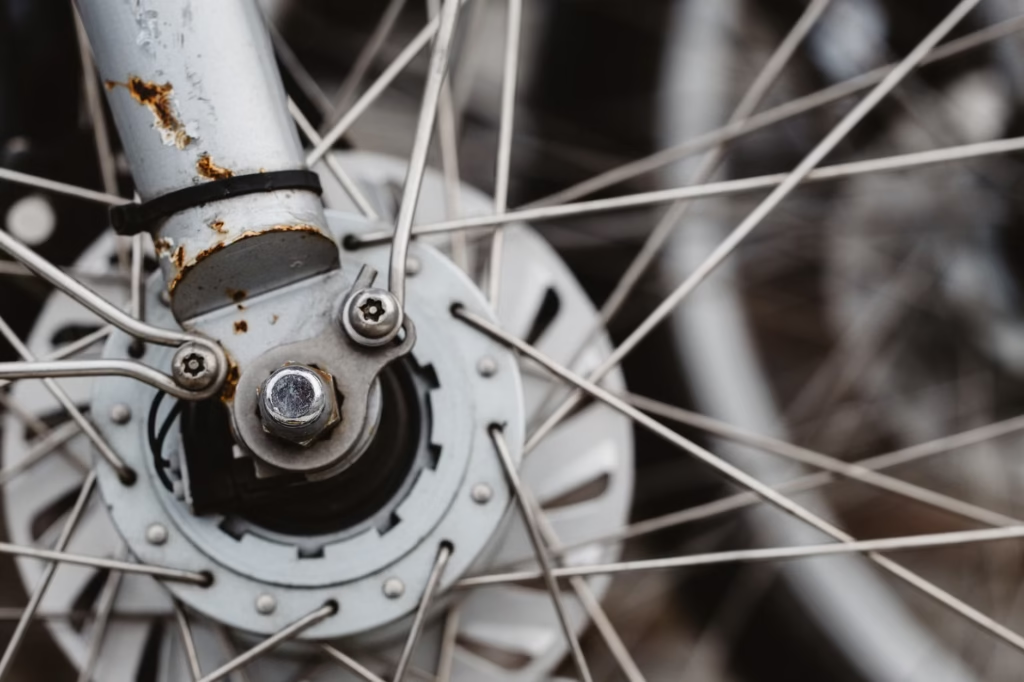
A common example is the bike that shifts fine before a flat repair and badly afterward. In that case, the simplest explanation is often the right one: the wheel did not go back in squarely, or the axle was not tightened evenly. Fixing that takes two minutes. Chasing indexing first can take half an hour and leave the bike worse than before.
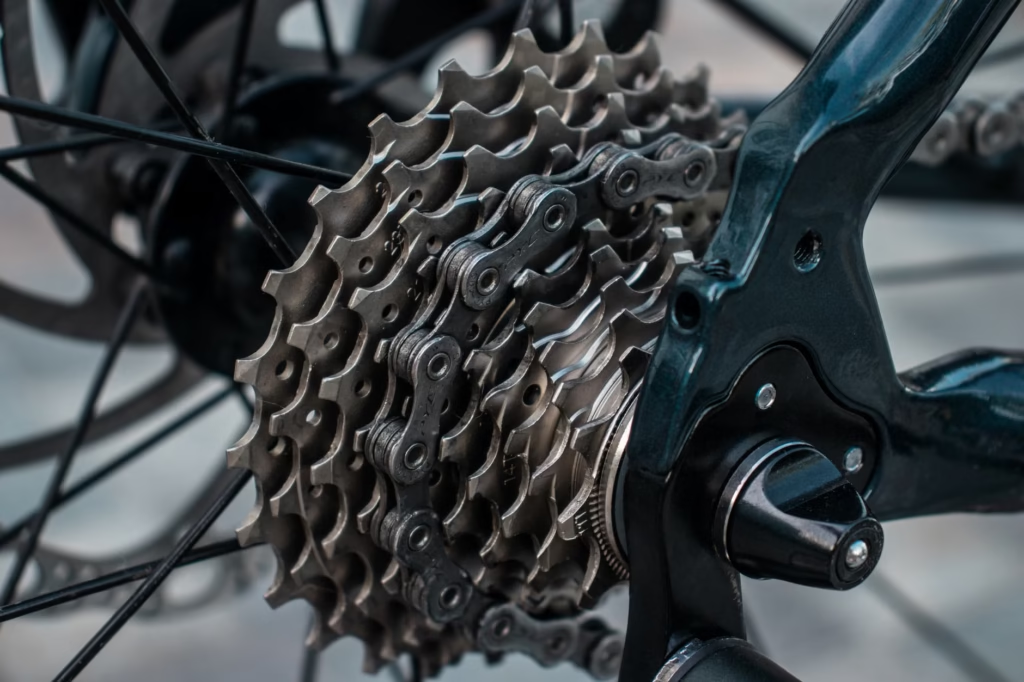
If the bike hesitates between cogs, indexing is usually the first real fix
Rear indexing is the relationship between each shifter click and each cassette cog. When that relationship drifts, the derailleur does not line up precisely under the sprocket the chain is trying to reach. The result is classic hesitating, ticking, or half-shifting behavior. This is especially common after a new cable beds in, after housing settles, or after routine use slowly changes cable tension.
- Shift to a middle rear cog so small errors are easier to hear and feel.
- If the chain is slow to move from a smaller rear cog to a larger rear cog, add a little cable tension. On most mechanical systems, that means turning the barrel adjuster counterclockwise in small increments.
- If the chain is slow to move from a larger rear cog to a smaller rear cog, reduce cable tension. On most mechanical systems, that means turning the barrel adjuster clockwise in small increments.
- Re-test after each small change. Quarter-turns are safer than big spins, because overcorrecting creates a different problem immediately.
- Run through the full cassette when it feels better in the middle. If one end improves while the other gets worse, stop and suspect hanger alignment or cable friction instead of continuing to chase it.

Limit screws are not the first answer to ordinary skipping between gears. They set the derailleur’s outer and inner travel range. If the chain is not threatening to fall off the cassette, the fine adjustment is usually cable tension, not a limit screw.
If the bike uses electronic shifting, the idea is similar but the tool is different. There may be a micro-adjust procedure rather than a barrel adjuster, and some systems also require a precise chain-gap or setup mode. In those cases, the correct manufacturer instructions matter more than guesswork.
When an adjustment will not stay fixed, suspect cable friction
If every barrel-adjuster change seems to help one moment and fail the next, the cable system may be fighting you. Dirt inside the housing, a kinked housing run, a frayed inner cable, or damaged ferrules can all add friction. Instead of moving freely and returning cleanly, the cable drags. That produces inconsistent shifts that feel impossible to dial in.
This is also where a useful misconception needs clearing up: what riders call cable stretch is often not the wire literally stretching very much. More often, cable ends, housing, and fittings settle into place and create slack. If the bike is fairly new and the slipping appeared after a few rides, re-tensioning may solve it. If the cable or housing looks rough, replacement is usually a better long-term fix than endless adjustment.
Skipping under hard pedaling usually points to wear, not tuning
If the bike shifts into a gear, seems settled, and then suddenly jumps forward under load, the drivetrain may be worn. Chains wear gradually, and once the chain is elongated beyond its service limit, it starts wearing the cassette and chainrings to match. The classic symptom is slipping in the gears a rider uses most, not necessarily across the whole cassette.
A common guideline is to replace many 5- to 10-speed chains around 0.75% wear and many 11- to 13-speed chains around 0.5% wear, but manufacturer-specific instructions still matter. The important point is not the exact number alone. It is that postponing chain replacement often turns a simple chain job into a chain-plus-cassette job.
A realistic hypothetical example: imagine a commuter who spends months riding mostly three middle cogs. The bike may still shift acceptably across the cassette in light spinning, yet skip hard only when accelerating in those familiar gears. That pattern does not scream cable tension. It suggests that the chain and those cogs have worn together. Installing a fresh chain on that old cassette may actually make the skipping more obvious, because the new chain no longer meshes with the worn tooth shapes the old chain had gradually matched.
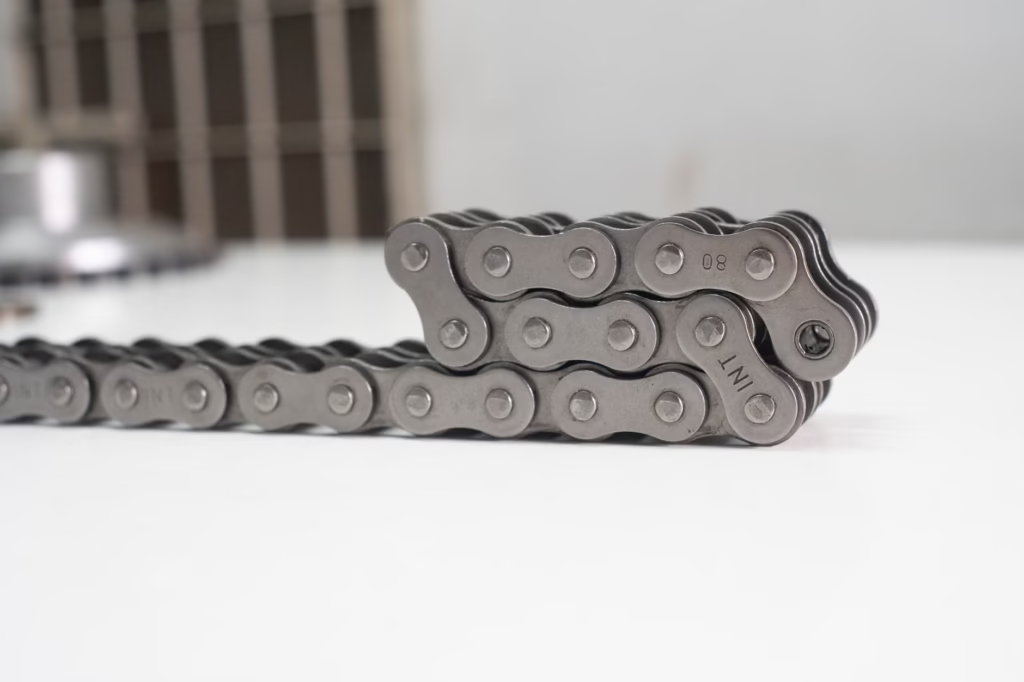
If the bike skips hard under load, treat it as more than an annoyance. A sudden loss of resistance can jerk a foot off the pedal and upset balance, especially when standing or climbing.
A bent derailleur hanger can make every small adjustment feel wrong
The derailleur hanger is a small, replaceable part that holds the rear derailleur in line with the wheel. It is designed to take the hit before the frame does, which is good for the bike and bad for perfect shifting. A tip-over on the drive side, a minor crash, rough transport, or even standing the bike awkwardly can bend it enough to affect gear alignment.
The giveaway is often this pattern: you can make the middle gears feel decent, but the smallest and largest cogs never line up cleanly at the same time. Modern drivetrains with more closely spaced cogs are especially sensitive. A visual check from behind can raise suspicion, but a proper hanger-alignment tool is the real test. If the slipping began after impact and indexing no longer behaves logically, a shop check is usually money well spent.
Chain gap, B-screw, and chain length matter more than many riders expect
If the derailleur’s upper pulley sits too close to the cassette or too far away, shifts can become noisy, slow, or inconsistent, especially on the largest cogs. That spacing is affected by the B-screw or, on some modern systems, a specific chain-gap setup procedure. Chain length matters too. Too long and the derailleur may not manage slack well; too short and the system can be overstressed or shift poorly at the big end of the range.
This is one of the places where brand and model details matter. Some modern SRAM systems use dedicated chain-gap gauges. Shimano service instructions also tie correct shifting to proper pulley position, cable condition, and correct installation. If slipping started after changing cassette size, derailleur, chain, or hanger, it is worth checking setup instructions rather than assuming the old B-screw setting is still close enough.
Mistakes that keep the problem coming back
- Turning limit screws to fix ordinary indexing. That often creates a second problem without solving the first one.
- Ignoring wheel seating after a flat or transport. Small axle-position changes can feel exactly like bad derailleur adjustment.
- Assuming every noisy gear is slipping. Some chainring-and-cog combinations create chainline noise that is annoying but not a derailleur fault.
- Trying to fix a bent hanger with more barrel-adjuster turns. If the alignment foundation is off, fine-tuning will not stay right.
- Shifting under heavy torque. Derailleur systems work best when pedal force is softened during the shift instead of being driven through at full load.
When to stop troubleshooting and book a shop visit
- The chain can fall into the spokes or off the cassette ends.
- The derailleur or hanger looks bent after a crash or tip-over.
- You can improve one end of the cassette only by making the other end worse.
- A new chain skips on an older cassette and you are not sure which parts now need replacement.
- The bike uses a modern electronic system with model-specific setup or chain-gap procedures you cannot verify confidently.
The good news is that slipping gears are rarely mysterious. They are usually a pattern-recognition problem. Start with the Three-Clue Slip Check, rule out wheel seating and obvious damage, then decide whether the symptom matches indexing, cable friction, wear, or alignment. That order saves time, prevents random adjustments, and gives you a much better chance of fixing the problem once instead of revisiting it every weekend.
FAQ
Can I diagnose slipping gears without a repair stand?
Yes. A stand is convenient, but many checks can be done with the bike on the ground or supported carefully. You can still reseat the wheel, inspect the chain, test shifts while gently turning the pedals, and sight the derailleur from behind. A stand mostly makes the work easier and safer, not fundamentally different.
Why did the slipping start right after I removed the rear wheel?
That timing strongly suggests wheel seating or axle tension. If the wheel is not fully and evenly seated in the dropouts, the cassette sits in a slightly different position relative to the derailleur. The gears may then act as if the indexing suddenly went bad even though nothing else changed.
Why does a new chain sometimes make an old bike skip more?
Because the old chain may have worn together with the cassette. Once the sprocket teeth are shaped by a worn chain, a new chain no longer meshes cleanly under load. In that situation, the new chain is not the problem. It is revealing that the cassette is already worn too.
Is this advice the same for internal hub gears?
Not entirely. Internal-gear hubs use a different shifting mechanism and often rely on indicator marks or hub-specific adjustment procedures instead of derailleur indexing. If your bike has a hub gear rather than a cassette and derailleur, use the hub maker’s setup instructions instead of the rear-derailleur steps in this article.
Should I keep riding if the gears only slip once in a while?
Occasional hesitation is less urgent than a chain trying to jump into the spokes, but it is still worth addressing. Small drivetrain problems tend to accelerate wear and often become less predictable under load, in wet weather, or during climbing. If the skip is forceful or happens while standing, it is smart to stop and diagnose it before the next hard ride.
References
- Park Tool: Rear Derailleur Adjustment – https://www.parktool.com/en-int/blog/repair-help/rear-derailleur-adjustment
- Park Tool: Rear Derailleur – Advanced Troubleshooting – https://www.parktool.com/en-us/blog/repair-help/rear-derailleur-advanced-troubleshooting
- Park Tool: When to Replace a Worn Chain on a Bicycle – https://www.parktool.com/en-us/blog/repair-help/when-to-replace-a-chain-on-a-bicycle
- Park Tool: Wheel Removal and Installation – https://www.parktool.com/en-int/blog/repair-help/wheel-removal-and-installation
- SHIMANO Dealer’s Manual DM-GN0001 – https://si.shimano.com/en/pdfs/dm/GN0001/DM-GN0001.pdf
- SHIMANO Dealer’s Manual DM-RARD011-01 – https://si.shimano.com/en/pdfs/dm/RARD011/DM-RARD011-01-ENG.pdf
- SRAM Support: How do I use my shifter’s barrel adjusters to improve shifting on my SRAM Eagle derailleur? – https://support.sram.com/hc/en-us/articles/5928717189275-How-do-I-use-my-shifter-s-barrel-adjusters-to-improve-shifting-on-my-SRAM-Eagle-derailleur
- SRAM Support: How do I set up my SRAM Eagle rear derailleur correctly? – https://support.sram.com/hc/en-us/articles/5928758457243-How-do-I-set-up-my-SRAM-Eagle-rear-derailleur-correctly
- SRAM: Rear Gear Adjustment – https://www.sram.com/es/service/articles/rear-gear-adjustment
